Quick Start
This guide walks you through your first session with webgate.
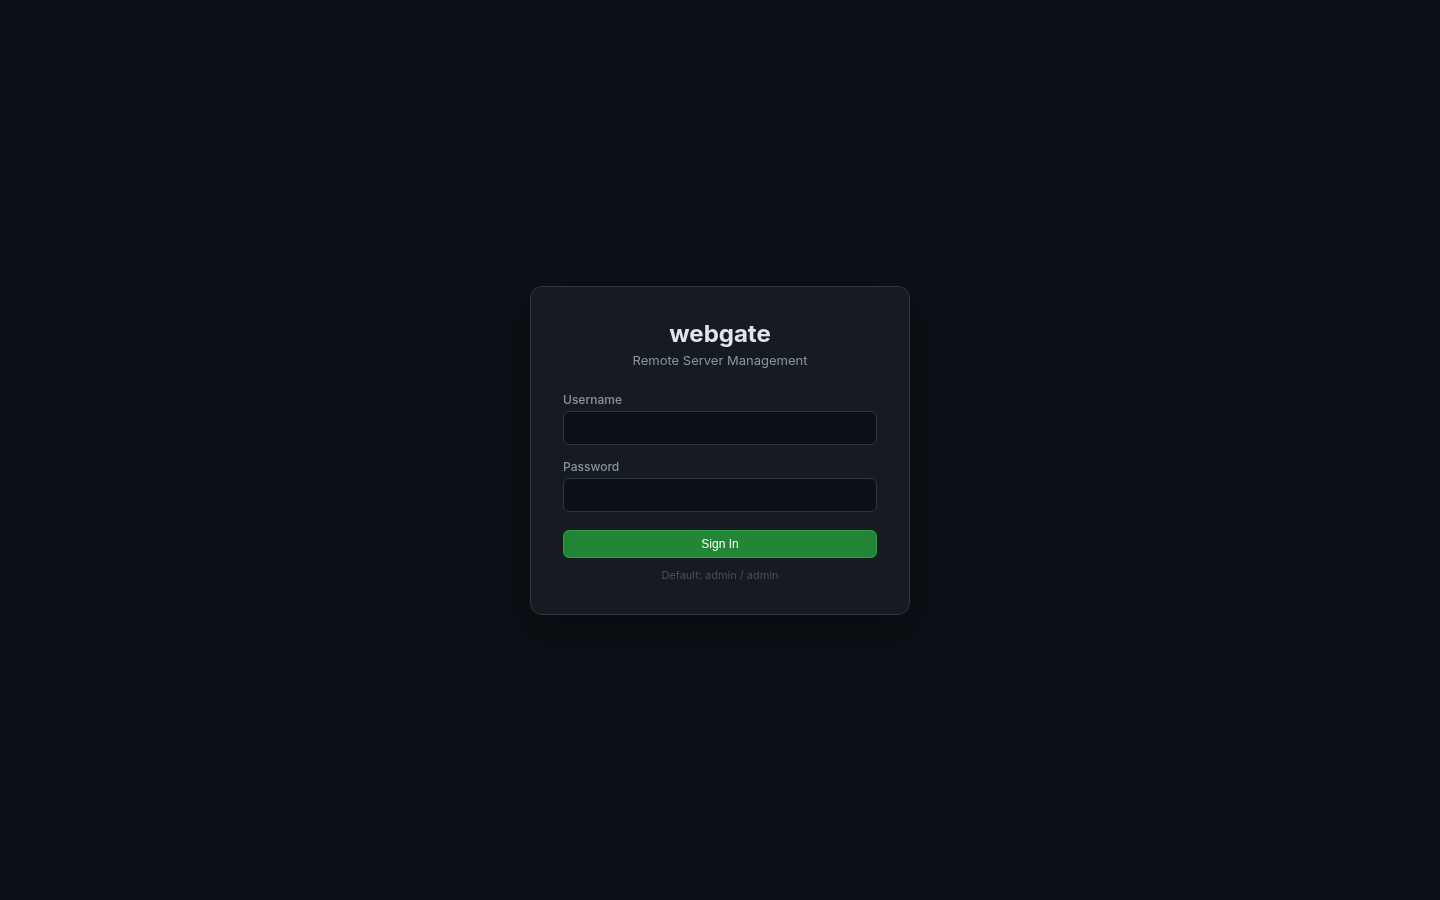
1. Login
Open http://localhost:8443 and login with the default credentials:
- Username:
admin - Password:
admin
2. Change Password
On first login, you'll be prompted to set a new password. This is mandatory.
3. Add a Server
Click New Server in the top bar and fill in:
- Name: a friendly name (e.g.,
prod-web-01) - Hostname: IP or hostname
- Port: SSH port (default 22)
- Username: SSH user
- Auth: password or private key
- Group: category for access control (e.g.,
production)
Click Add Server.
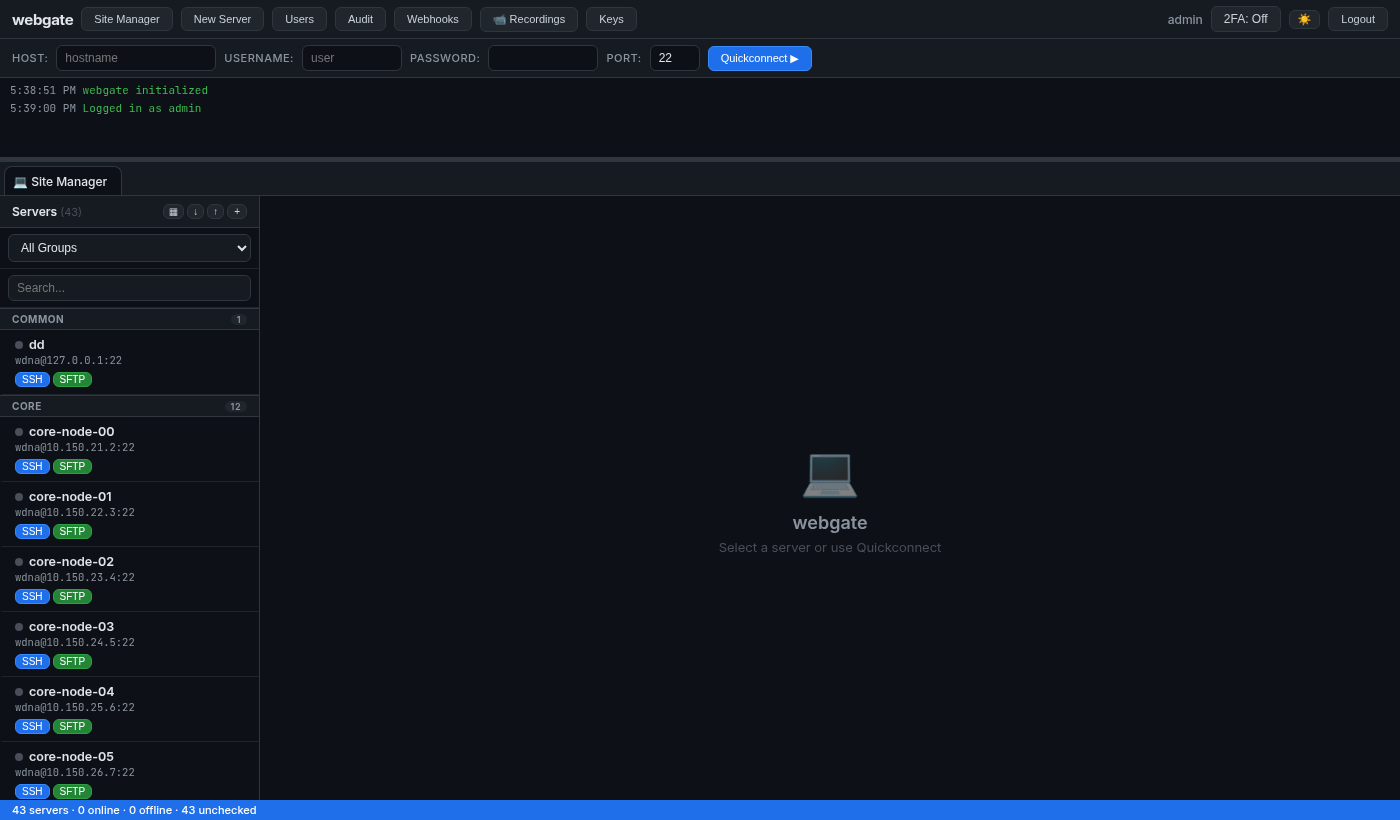
4. Connect
From the Site Manager, click:
- SSH -- opens a terminal tab
- SFTP -- opens a file browser tab
- Split -- opens both side by side
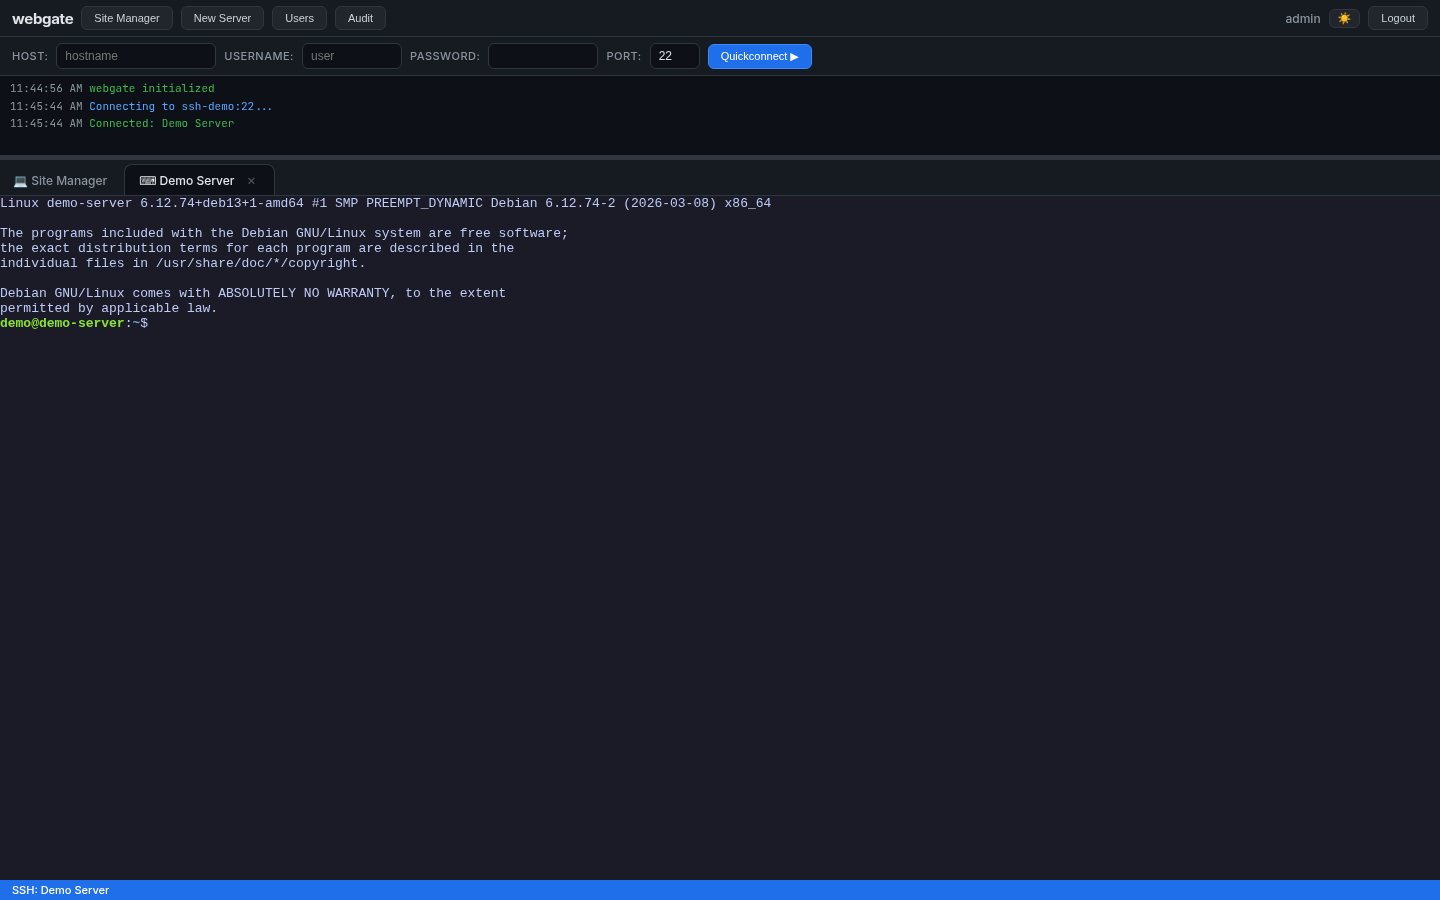
5. SSH Terminal
Full terminal in your browser. Supports copy/paste, resize, and multiple tabs.
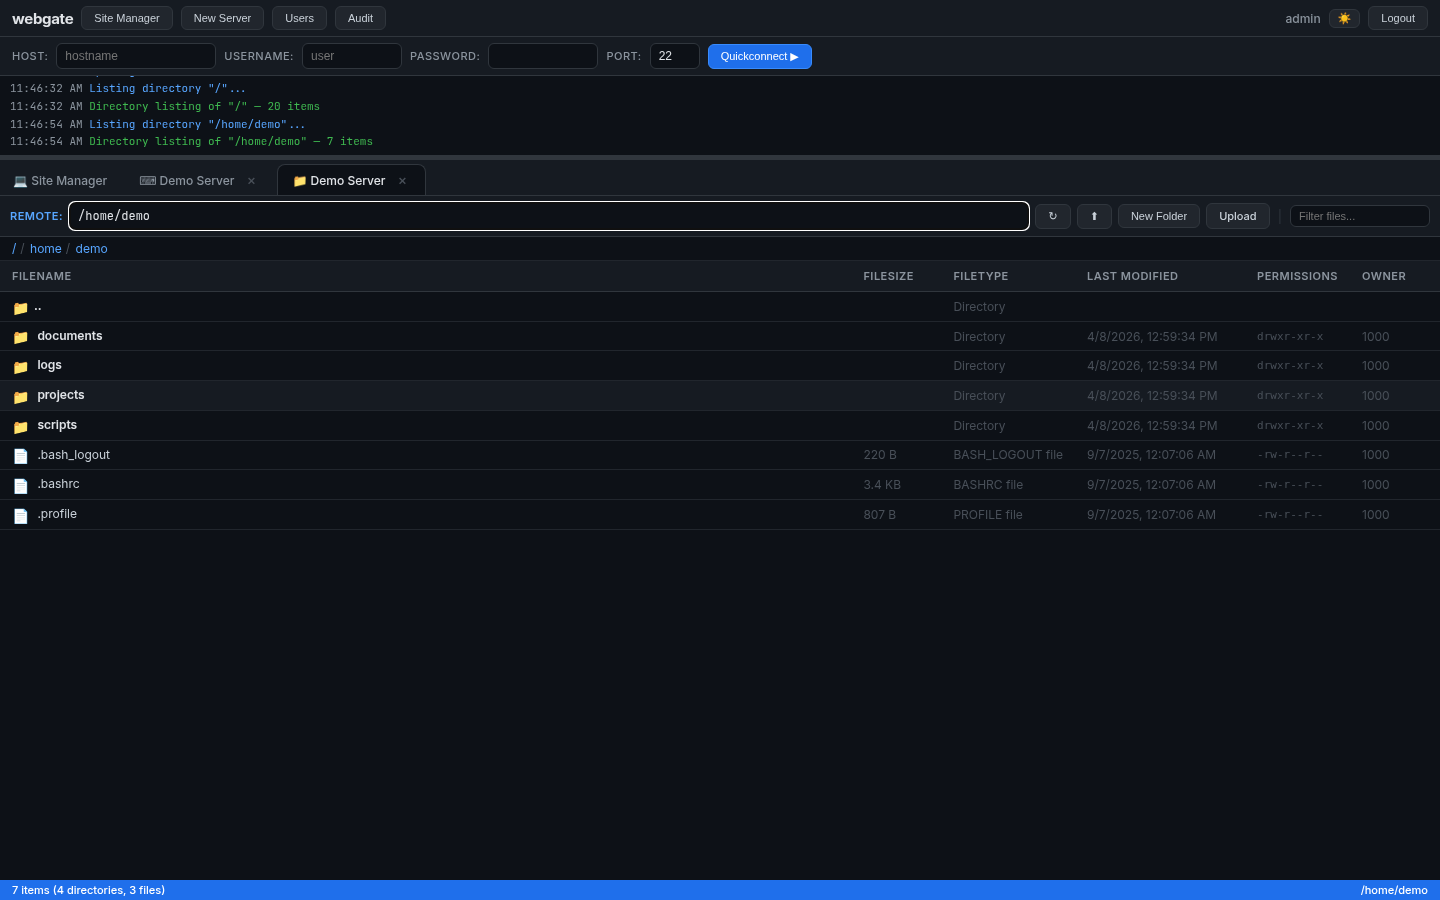
6. Browse Files
Navigate directories, upload/download files, edit text files with CodeMirror, preview PDFs and images.
7. Create Users
Click Users to create team members and assign them server groups:
- Admin creates users with allowed groups
- Users only see servers in their assigned groups
- Users can SSH and SFTP but cannot add/edit/delete servers
Next Steps
- Server Management -- groups, tags, import/export
- User Management -- roles and permissions
- API Reference -- REST API docs